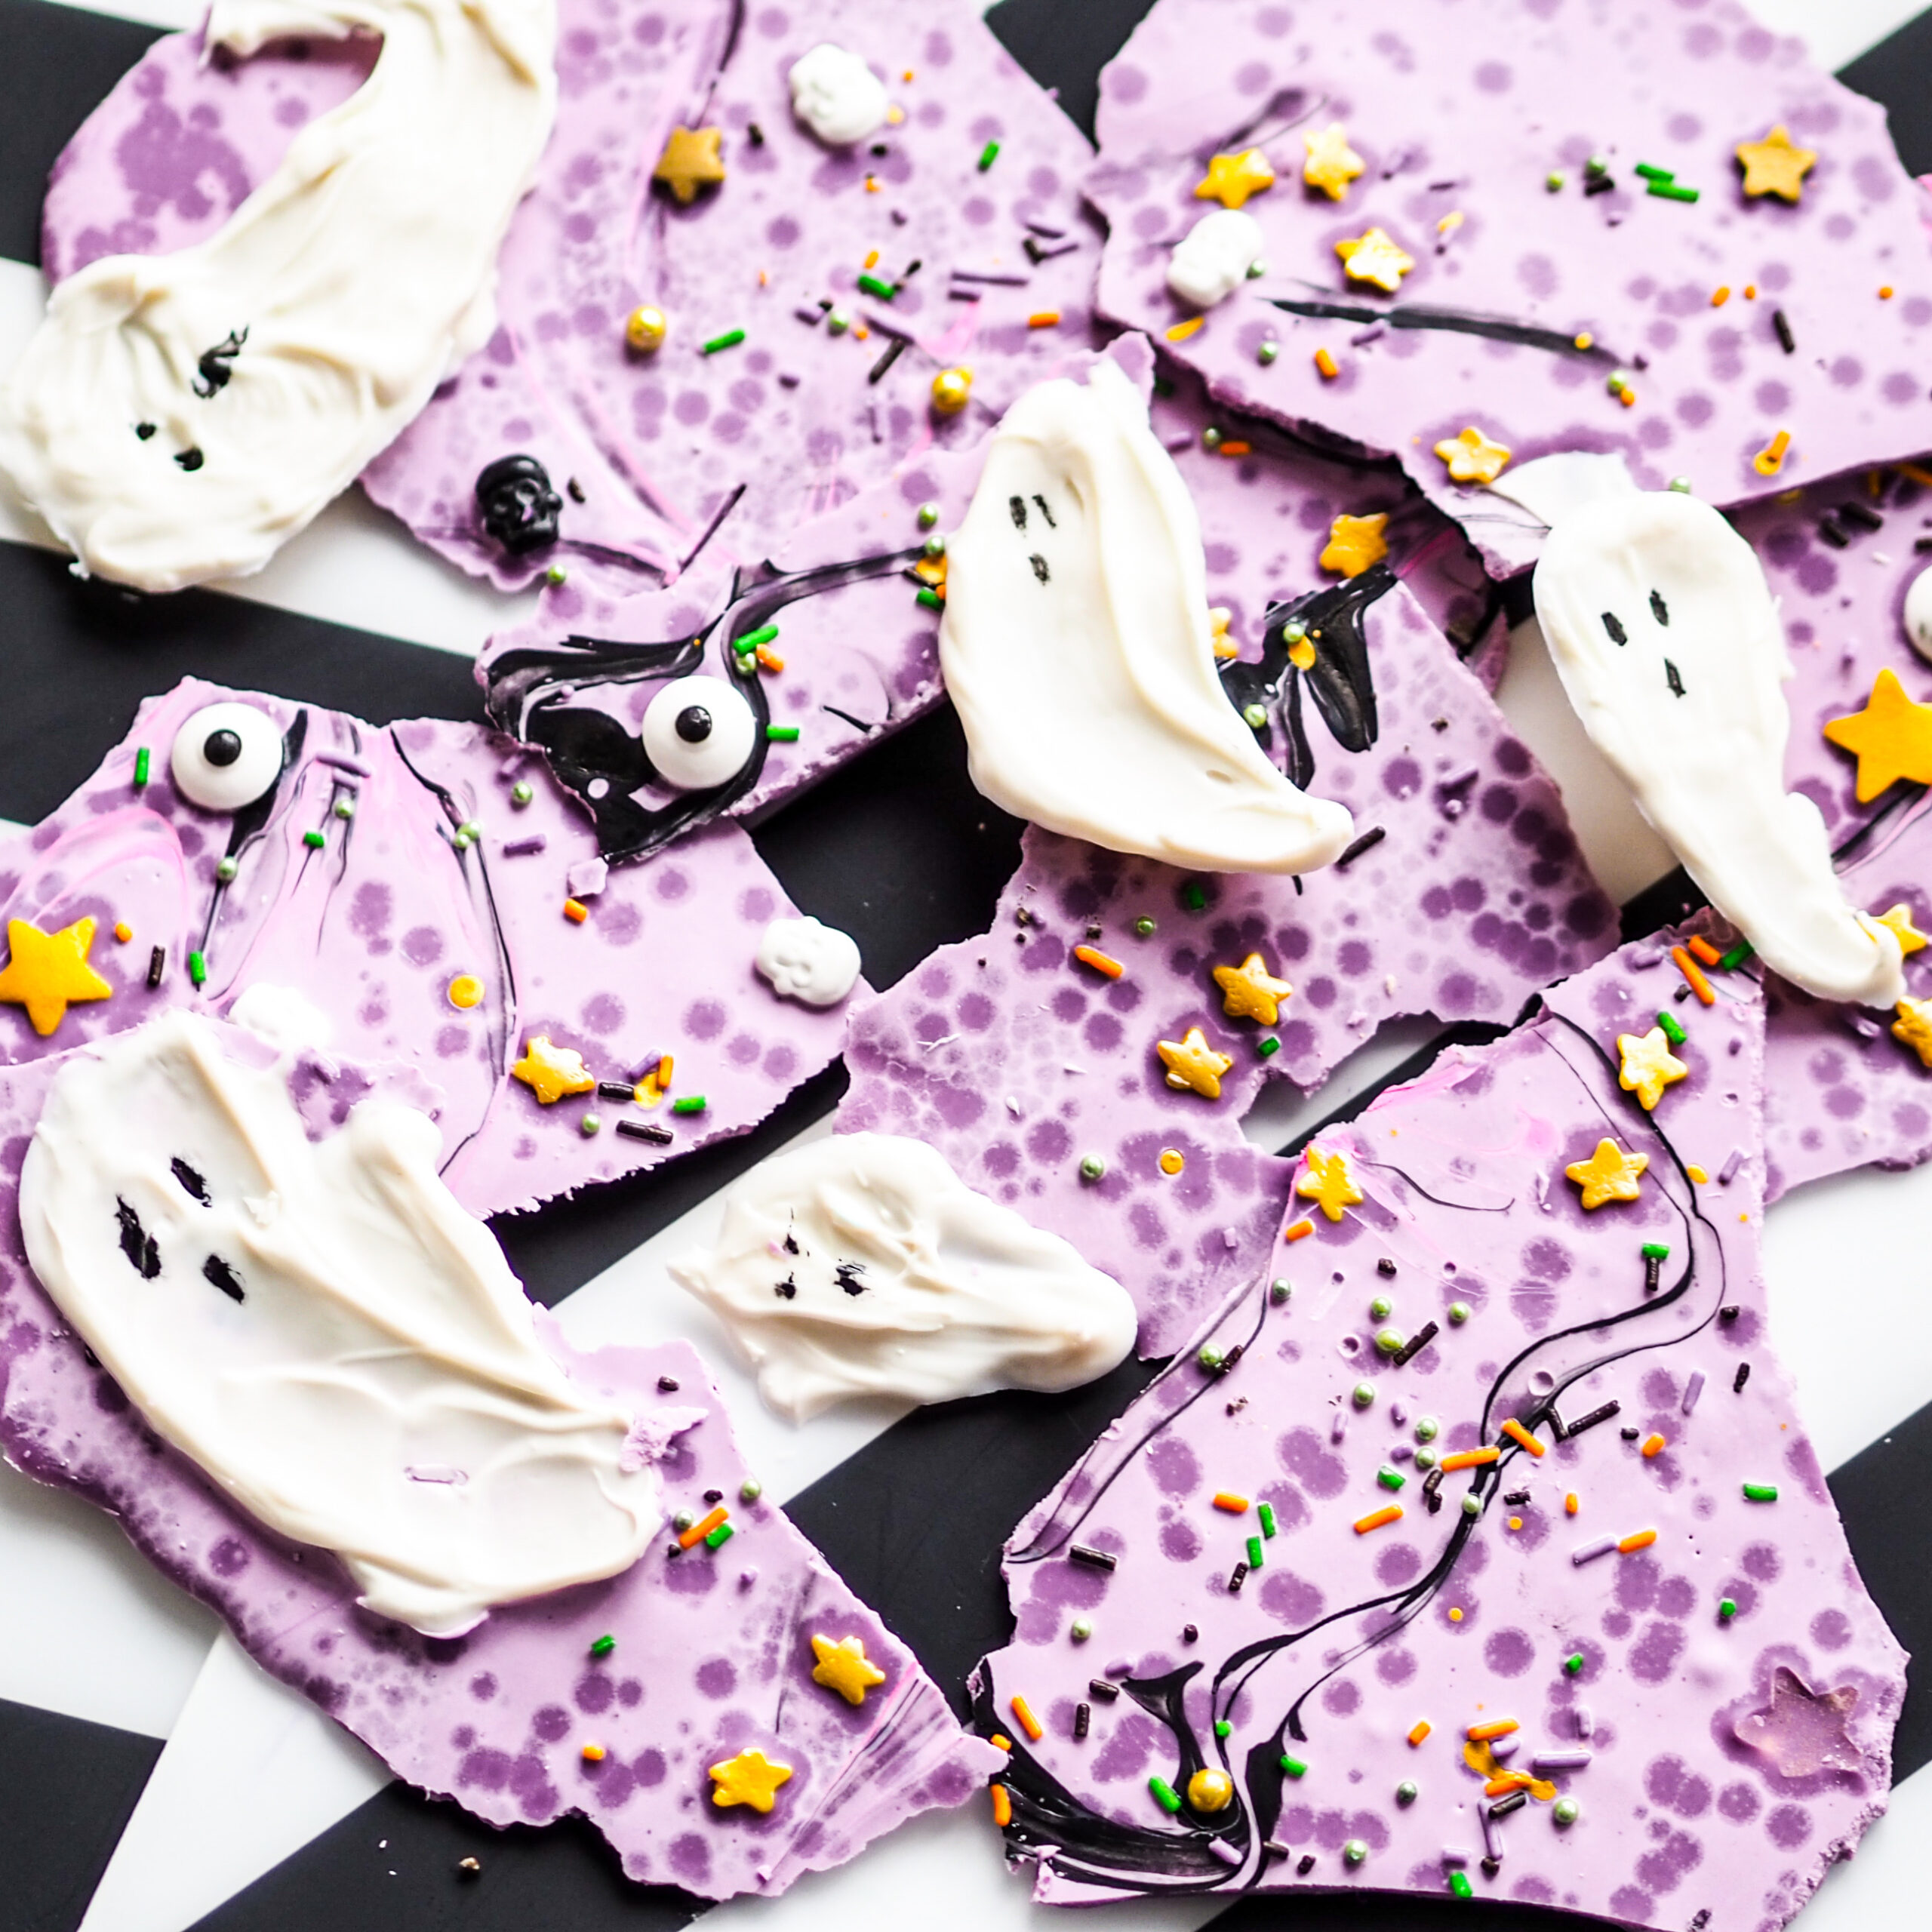
Chocolate bark is one of my favorite ( and easiest ) things to make.
It’s super fun to make with kids too , and can be as detailed or simple as you like.
I’ll also do a quick run through on making chocolate ghosts too. They are great for adding to bars, bard , cakes… just anything really.


You will need
A jug / melting pot
Callebaut ( this is the chocolate i use for all of my chocolate making , it sets quickly, it’s ore tempered and is easy to colour.)
Deco melts ( great to use if you don’t want to dye your own chocolate , but the taste isn’t great for whole bars)
Sprinkles and decorations
Grease proof paper.
Optional
Instructions
I recommend using callebaut , because as I Said above its tempered already. I like to dye my own to control colour and it still tastes like white chocolate , while deco melts can have a synthetic taste.
Melt chocolate via package instructions ( I do 20 second blasts in the microwave , stir well every time) . When you only have a few lumps left you keep stirring.
If you want to do multiple colour I suggest pouring into smaller batches or bowls and then adding a few drops of colour at a time.
I use colour mill as it has a nicer range of colours but you can use any food colouring.
And here is the fun part.
Lay out your greaseproof paper , I like to do this onto a chopping board or tray so you can transfer to the fridge to colour. This is where you can use bar moulds too. I like to do a few different sizes and shapes for things like halloween to make treat bags and feast tables etc.
Spread your chocolate out across your paper, using a spatula or back of a spoon to spread. swirl colours together in whatever pattern you like.Then slowly lift your paper , either all at once or corner by corner depend on size and just drop. only a couple of inch of the work top and drop. This will knock your air bubbles out and give your chocolate a glossy finish.
Then the fun part, just scatter all your favorite toppings all over.
Slide into the fridge and leave to set for around an hour.
Either snap up or use a hot knife to cut & its ready.


For chocolate moulds you want to pour to the top leaving about 2mm if adding toppings. lift and drop moulds to knock out bubbles and top.
Refrigerate for an hour and wrap.


Making chocolate ghosts.
For this I ALWAYS use deco melts. They are much whiter and thicker than normal chocolate.
Melt according to instruction.
Take half a teaspoon and drop as a blob onto a sheet of greaseproof paper.
Using the back of your spoon to drag down creating your shape.
Leave half an hour to set.
Use black deco melts or an edible marker to create a face.
and TA DA , your edible ghosts.
For any left over , drop onto sheets and add some toppings to make tiny little puddles ( witch puddles , ghost poops etc ) that make super cute buttons.


- Post contains AFFILIATE links
